Using Sentry with Keycloak
First, create a new client in Keycloak. Use the following settings:
ClientID: https://sentry.example.com/saml/metadata/SLUG/
Valid Redirect URLs: https://sentry.example.com/*
Name ID format: email
Go to the Keys tab and set Client signature required to off.
Go to the Client Scopes and remove the Role list. Then click on the client scope, add a predefined mapper and choose X500 email. Change the SAML Attribute Name to user_email.
Then go to Advanced and set Assertion Consumer Service POST Binding URL to https://sentry.example.com/saml/acs/SLUG/. Also set Logout Service POST Binding URL to https://sentry.ocstro.net/saml/sls/ocstro/.
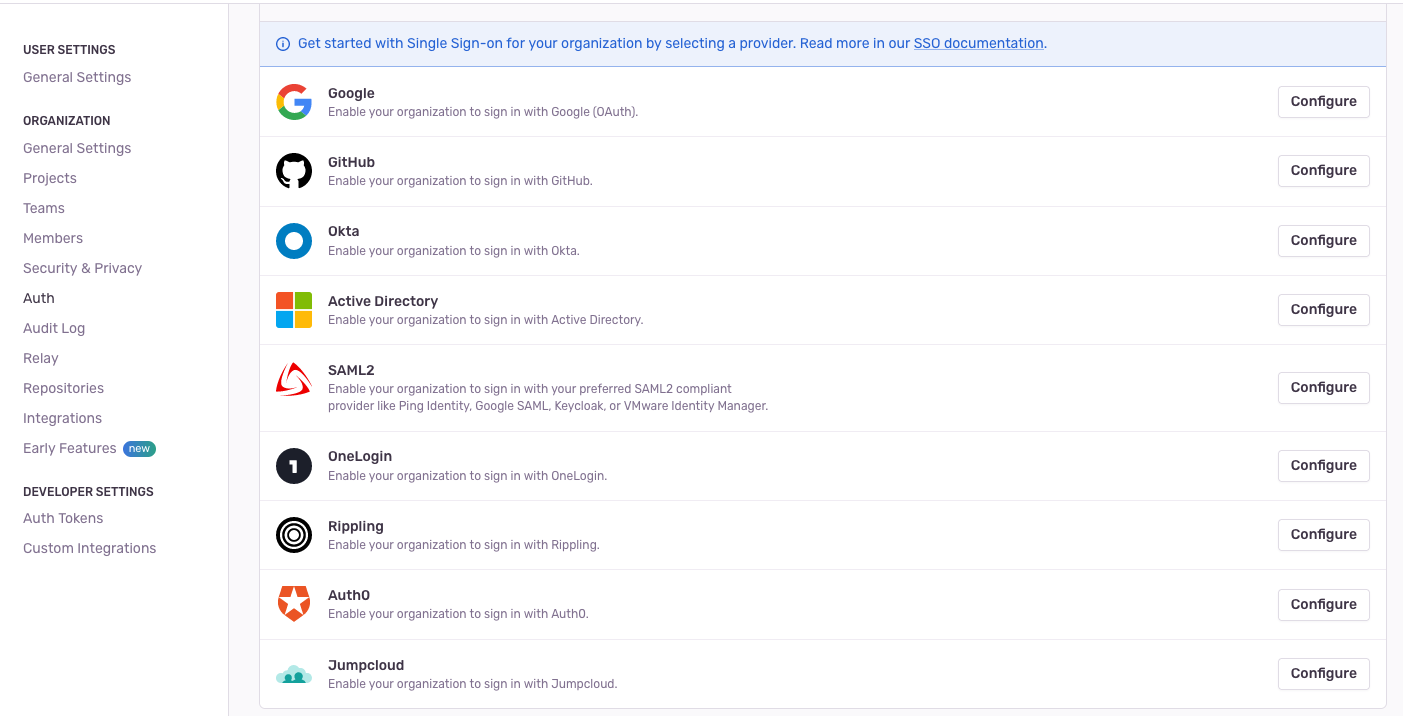
In the Sentry settings go to Auth and configure Saml2. Use the following metadata URL: https://keycloak.example.com/realms/REALM-NAME/protocol/saml/descriptor. Then use user_email for both id and email fields, and firstName and lastName for the first and last name respectively.